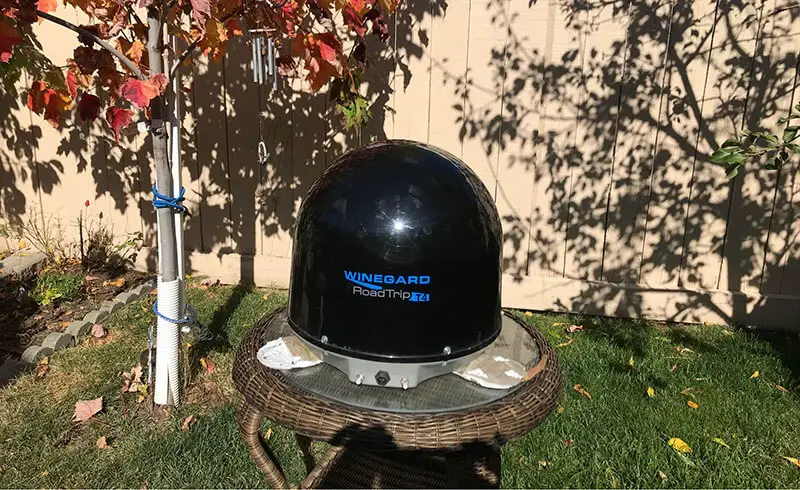
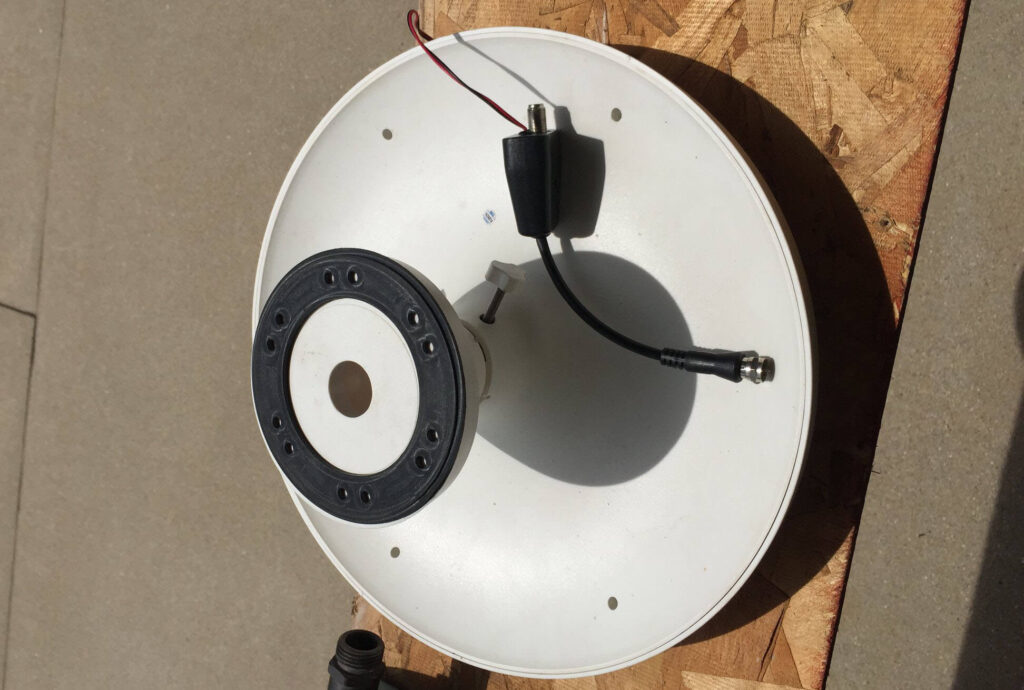
If you’re new to the RV lifestyle, you may not be aware that the ability to pick up channels while on the road is important for many RVers. Whether you’re looking for local news, weather updates, or entertainment, having a functioning RV antenna is crucial. In this post, I will cover the common causes of poor reception, troubleshooting steps, and even upgrading options to improve your RV antenna reception. So, let’s dive in and get your RV antenna working like a charm!
7 Major Reasons for RV Antenna not Picking up Channels

One of the most frustrating things for RVers is when their antenna isn’t picking up channels. There are a few common causes of poor reception that can be easily addressed.
1. Location:
The location of your RV can greatly affect the ability of your antenna to pick up channels. If you’re parked in a heavily wooded area or surrounded by tall buildings, the signal may be blocked, resulting in poor reception. The higher up you are, the better the reception you’ll have, so consider parking your RV on a hill or mountain.
2. Type of Antenna:
Different types of antennas have varying ranges and capabilities. If you have an older or lower-quality antenna, it may not be able to pick up as many channels as a newer, more powerful antenna. Some antennas are designed for UHF, VHF or a combination of both and some are designed for specific regions or countries, so make sure you have the right one for your area.
3. Weather:
Inclement weather can also affect the ability of your antenna to pick up channels. Heavy rain, snow, or wind can all disrupt the signal and cause poor reception. So, you should avoid parking under trees or other tall objects during bad weather conditions.
4. Obstruction:
Sometimes, the problem is not the antenna but the surroundings, the antenna might be obstructed by trees, buildings or any other object that may block the signal, which causes poor reception. Make sure you have a clear view of the sky and relocate your RV if necessary.
5. Signal strength:
If you’re in a remote area with a weaker signal, your antenna may not be able to pick up as many channels as it would in a more urban area with a stronger signal. So, it’s important to check the signal strength in your area before hitting the road.
6. Antenna Positioning:
If your antenna is not positioned correctly, it may not be able to pick up channels properly. Make sure that your antenna is pointed in the right direction and that it’s at the right height.
7. Cable Connections:
Sometimes, the problem isn’t with the antenna itself but with the cable connections. Check all the cables and connections to make sure they’re secure and in good working condition.
By understanding these common causes of poor reception, you’ll be better equipped to troubleshoot your RV antenna and improve your reception. If you’re still having trouble, don’t hesitate to consult with a professional or consider upgrading your antenna. Keep in mind that the location, weather, and signal strength are constantly changing, so you may need to adjust your antenna from time to time to maintain a good reception.
How to Troubleshoot RV antenna?

Troubleshooting your RV antenna can seem daunting, but it’s actually quite simple. By following these steps, you’ll be able to improve your reception and pick up more channels.
Step 1: Adjust your antenna: Make sure that your antenna is pointed in the right direction and that it’s at the right height. Sometimes, the antenna just needs to be adjusted slightly to pick up channels.
Step 2: Check for obstructions: Look around your RV to see if there are any trees, buildings, or other objects that may be blocking the signal. If you find something that’s blocking the signal, you may need to relocate your RV.
Step 3: Perform a channel scan: Most RV antennas have a built-in channel scan feature. This will scan for available channels and store them in the antenna’s memory. Make sure you perform a channel scan when you’re in an area with good reception and after adjusting the antenna or moving your RV.
Step 4: Check the cable connections: Make sure that all the cables and connections to your antenna are secure and in good working condition. Loose or damaged cables can cause poor reception.
Step 5: Check the signal strength: If you’re in a remote area with a weaker signal, your antenna may not be able to pick up as many channels as it would in a more urban area with a stronger signal. You can check the signal strength in your area using a signal strength meter.
Step 6: Consult with a professional: If you’ve tried all these steps and you’re still not getting good reception, it’s time to consult with a professional. A professional can diagnose the problem and recommend a solution.
By following these troubleshooting steps, you’ll be able to improve your reception and pick up more channels. Remember, that location, weather, and signal strength are constantly changing, so you may need to adjust your antenna from time to time to maintain a good reception. And don’t hesitate to seek professional help if you need it, it’s better to have a professional check your antenna than to spend time and money trying to fix it on your own.
Upgrading Your Antenna:
Upgrading your RV antenna is an effective way to improve reception and pick up more channels. Here’s a guide to help you choose the best antenna for your needs.
- Determine the type of antenna you need: There are two main types of RV antennas: VHF and UHF. VHF antennas are designed for channels 2-13, while UHF antennas are designed for channels 14-69. Some antennas are designed for both VHF and UHF channels, which is called a combined antenna. Make sure you know the type of channels you want to pick up before you purchase an antenna.
- Consider the range: The range of an antenna is the distance it can pick up signals from. If you’re planning on traveling to remote areas, you’ll need an antenna with a longer range.
- Look for a high-gain antenna: A high-gain antenna is more powerful and can pick up signals from farther away. This is especially important if you’re planning on traveling to remote areas.
- Check the size and shape of the antenna: Some antennas are designed to be mounted on the roof of your RV, while others are designed to be mounted on a tripod. Make sure you choose an antenna that will fit on your RV and is easy to install.
- Research different options: Look for antennas that are designed for your RV, and have a good range and high gain. Read reviews from other RVers to see what they think of the product.
- Purchase the new antenna: Once you’ve found an antenna that meets your needs, purchase it. Make sure that you have all the necessary tools and equipment for the installation.
- Uninstall the old antenna: Before installing the new antenna, you’ll need to remove the old one. This may require a few tools, such as a drill, screwdriver, and ladder. If you’re not comfortable removing the old antenna, you may want to consider hiring a professional to do it for you.
- Install the new antenna: Once the old antenna is removed, you can install the new one. Make sure that the antenna is properly aligned and pointing in the right direction. Follow the instructions provided by the manufacturer for the specific installation process.
- Test the reception: Once the new antenna is installed, test the reception. Perform a channel scan, and check for any obstructions. Make adjustments if necessary.
Some good RV antennas to consider include:
- Winegard Pathway PA6002: This is a portable and compact antenna that can be mounted on a tripod. It’s designed for both VHF and UHF channels and has a range of up to 45 miles.
- Antennas Direct Clearstream 4: This is a high-gain UHF antenna that can pick up signals from up to 60 miles away. It’s designed for channels 14-69 and can be mounted on the roof of your RV.
- King Jack: This is a combined VHF and UHF antenna that can pick up signals from up to 45 miles away. It’s designed for channels 2-69 and can be mounted on the roof of your RV.
- Winegard Roadstar: This is a compact and portable antenna that can be mounted on a tripod. It’s designed for both VHF and UHF channels and has a range of up to 35 miles.
By following these steps, you’ll be able to upgrade your RV antenna and improve your reception. Remember that the location, weather, and signal strength are constantly changing, so you may need to adjust your antenna from time to time to maintain a good reception. It’s important to have the right tools, knowledge, and patience while upgrading the antenna, and don’t hesitate to seek professional help if you need it.
Conclusion:
Having a functioning RV antenna is crucial for RVers who want to stay connected and entertained on the road. By understanding the common causes of poor reception, troubleshooting, and upgrading options, you’ll be able to improve your reception and pick up more channels. Remember, location, weather, and signal strength are constantly changing, so you may need to adjust your antenna from time to time to maintain a good reception. Don’t hesitate to seek professional help if you need it, and enjoy your road trip with a properly working RV antenna.

Hi I’m Joiel Borid Creators of RV Outsider. Wild Life’s first camping was started when I’m 8 years old, at the Home Front Yard. Moto of RV Outsider shares my experience, expertise, and knowledge that I learned, and apprises about my next journey. So stay tuned with RV Outsider.
